Estimated read time: 5-6 minutes
This archived news story is available only for your personal, non-commercial use. Information in the story may be outdated or superseded by additional information. Reading or replaying the story in its archived form does not constitute a republication of the story.
There are many reasons our lawns turn brown. Drought, disease, bugs, and chemical burn are the usual suspects. But could your sprinklers be the true underlying cause of those brown spots in your lawn?
Many homeowners are confused about why their lawn still has brown spots when they are striving to water according to recommended guidelines. If the majority of your lawn is green yet you still have dry areas, checking your sprinkler system should be the first step in diagnosing the problem.
If your sprinkler system has problems you will have brown spots. A properly laid out irrigation system should deliver water evenly across the whole area of your lawn. If you have broken, sunken, tilted, clogged, or misaligned sprinkler heads or if the spacing between heads is not correct, the amount of water one area of your lawn receives will be different from that of another area. This uneven distribution can cause one part of your lawn to be over-watered while another is under-watered, dry, and struggling.
Here are five common problems that you can fix as a homeowner to eliminate dry spots in your lawn:
Broken heads
Sprinkler heads can break for any number of reasons including lawnmower damage, vehicles, and ice from last winter. A broken sprinkler cannot distribute water and causes the area to stress and turn brown. To fix a broken sprinkler head carefully dig around the head until you reach the pipe where it connects. Once you have cleared away an area to work, gently unscrew the head and take it with you to an irrigation supply store. Once there you can easily match up and buy the correct replacement. While the head is removed and the sprinkler line is exposed, try to avoid letting soil fall into the line, this will prevent future problems with the new sprinkler head getting clogged from dirt or small debris in the line.
Tilted heads
Sprinkler heads can tilt from soil settling or being exposed to pressure from above, whether it be mowers or foot traffic that push the head to one side or the other. A tilted head can lead to one area of your lawn over-watered, while another is dry. To fix this simply dig down around the sprinkler head, align it correctly back to level, and then pack the dug-up soil around it until it is straight again. The pattern of spray will be corrected, and dry spots may now be properly watered.
Sunken heads
Sprinkler heads often sink for the same reasons that cause them to tilt, settling soil and pressure from above. When sprinklers sink, they can only water the area immediately around them, causing browning to occur where it should be hitting but can no longer reach because of blocked spray. To fix this issue, dig around the head until you come to the pipe where it is attached. Carefully dig under the pipe and lift them both until level with the top of the exposed ground. If it is on a fixed riser this can be a challenge, but using a swing joint, you can place the head at the proper level regardless of the depth of the pipe in the ground. Pack the dug soil back around the head at the correct level. Make sure the top of the sprinkler head is level with the soil and not with the top of the grass blades.
Clogged nozzles
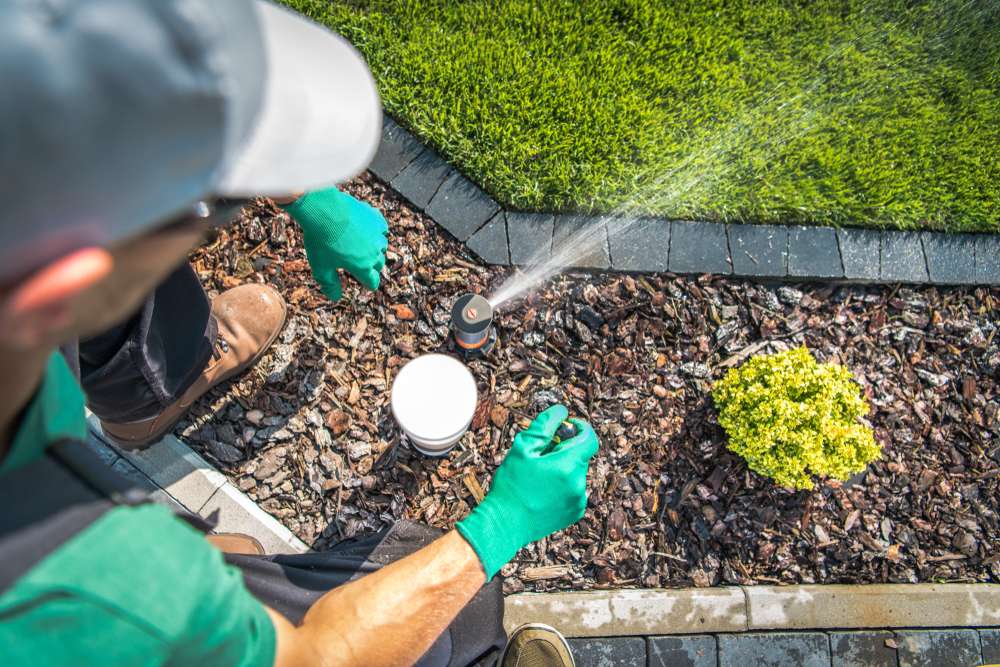
Sprinklers can accumulate debris in them over time. If you live in a home that has secondary water, you are more likely to have more debris than someone who irrigates with culinary water. Secondary water is unfiltered and can often carry small particulates that accumulate over time in a filter or nozzle--especially if you are not filtering your entire sprinkler system. To fix this issue you can either unscrew the nozzle and clean it with clean water, clean out the small filter screen that often comes right before the nozzle, or if its plugged up too much or you are not able to clean it out, simply replace the nozzle altogether.
Misaligned or wrong heads
When checking your sprinkling system, you may find that some of the heads are pointing in the wrong direction and are irrigating areas that do not need water. Fixing this issue will depend on the type of sprinkler head you have. If you have a popup sprinkler, gently grab the riser and twist it until it points the right direction. If you have a rotor or an adjustable head, you will need to turn the screw on top of the head to achieve the correct watering pattern.
If you notice a sprinkler that is aligned correctly is not reaching the head next to it, you may want to inspect the nozzle itself. On pop-up nozzles, a measurement of the distance range of that particular nozzle can be found printed on the nozzle. For best results sprinklers should spray from one head to the next, overlapping one another for uniform spray, this is also called head to head coverage. If the nozzle installed is for a shorter distance than that of the next sprinkler head, you will have to purchase the correct nozzle from a sprinkler supply store and replace it outright. You can always keep this nozzle as a spare replacement for another area with the correct dimensions as a guard against broken or clogged nozzles for the future.
Once you have made these corrections and your irrigation system is operating efficiently, proper irrigation should no longer be an issue. We recommend applying a half an inch of water each time you irrigate. The number of days to wait between watering is highly dependent on what type of soil you have.
Generally, you should be able to skip 1-2 days between irrigation events in the middle of the summer in northern Utah.
As fall approaches, make sure to increase the days between watering as the weather cools down and turn your sprinklers off when it rains. For more information on when to water for your area you can consult the Utah Division of Water Resources Weekly Lawn Watering Guide at: https://conservewater.utah.gov/guide.html. You can also visit our website, https://weberbasin.com/Conservation/LearningGarden, for help finding a conservation class, the right plant for your garden space, water audit help, or rebates to help make your home and landscape more water-efficient.

5 reasons your lawn is going brown and how to fix it
What can you do to prevent a misstep and keep your lawn green this summer without being wasteful with water? Here are five common reasons lawns go brown and their remedies.